
DIY projects are my jam, but rarely do I share step-by-step on my blog. That changes today! Especially after I found myself wandering Home Depot, disheveledly scanning the internet for screw length specifics when I could have instead looked up on here what I used on a similar project two years ago. Never again.
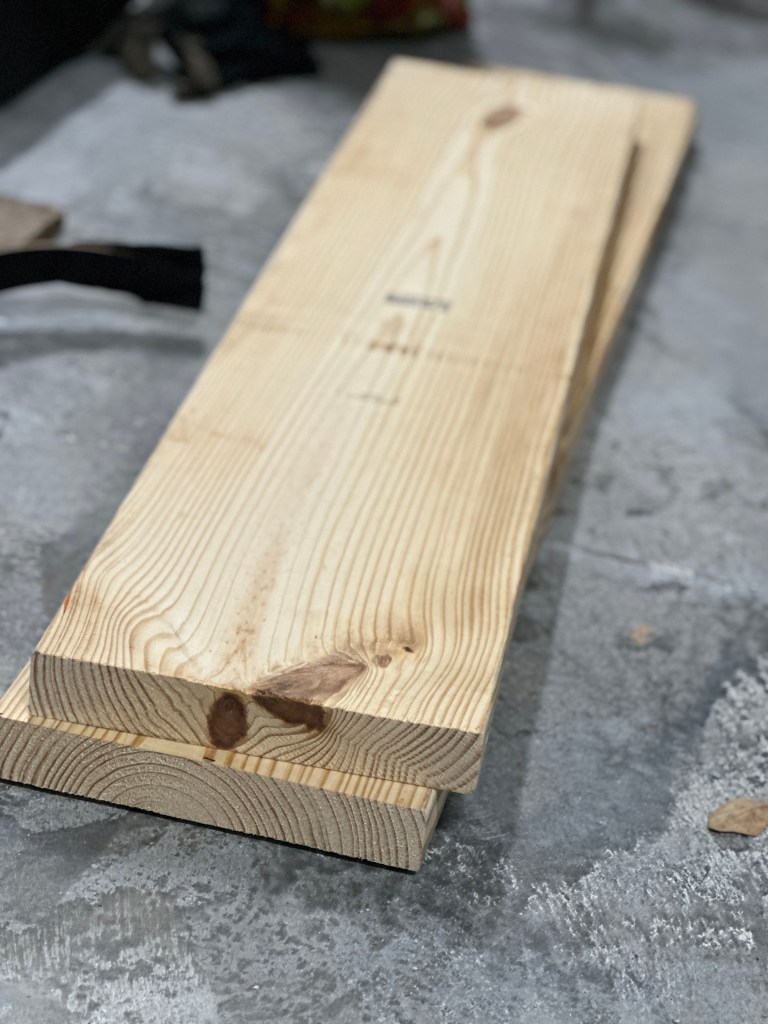
I recommend pine—it’s light-colored, versatile, and takes stain beautifully. We went with a 2’x10”x12’ board. When considering a two-inch wider piece, it’s heaviness had Dave and I worry it wouldn’t hold well on the wall. Anyway, our goal is two shelves, one above the other, on the tall living room wall. At the store, we had a worker cut down the 12’ board into two 50” pieces; the leftover was a bonus 44” board. Which isn’t bad for a $15 board, with tax included.
Before you get excited about $15 shelves, let’s be real: I had to buy a new paintbrush for $13, two stain colors ($13 and $18 because I’m indecisive), and let’s not forget the 4” exterior screws. Thankfully the $40 Kreg Jig we had from the previous project was at home and free. Still, I know the stain will last for decades, so the cost per shelf will go down over time.
After a dinner of homemade green curry, garlic butter naan, and a freshly juiced pineapple-ginger concoction, I excitedly dove into the project—still wearing the cute new outfit I bought yesterday. Because who doesn’t love some wax-on, wax-off action in fancy wear? Naturally, I overdid it with the brush, splattering stain at times but thankfully, I’ve gotten quicker at cleaning up my messes (paper towels and window cleaner are lifesavers).

Staining both sides of the first board took me less than seven minutes—a shame since it’s my favorite part. But knowing me, the longer I’m around stain, the more likely I’ll end up wearing it. And this shirt? Way too white for globby brown dots.

Board one drying? Check. Onto board two, but not before changing into crummier clothes.
Since finishing board number two, I’ve figured out what to do with the leftover 44” board. It’s perfect for a bathtub tray. My bath setup could definitely use an upgrade—having clippers and shampoo bottles balanced precariously on the ledge just isn’t the vibe.
Thanks for stopping by! I’ll post an update with how to’s when we get these shelves mounted.
Later! Love,
Jaclynn
